Want to work on your axe throwing skills from home? Why not make your own backyard target to practice! Check out this video where Greg from Revolution Axe in Boston, MA will show you how to make your own axe throwing target from a single 2x10 inch board and a few household supplies.
1. Choosing The Wood You Will Use
We work with pine, but you can use any soft wood, including spruce. It’s really important to look for boards that don’t have too many knots, especially in the center - you don’t want axes bouncing off your bullseye. Also, keep an eye out for darker or heavier pieces of wood that might be denser and harder to stick with your axe. The board should be a 2x10 inch board, 4 feet in length. (Usually sold in lengths of 8 feet or longer).
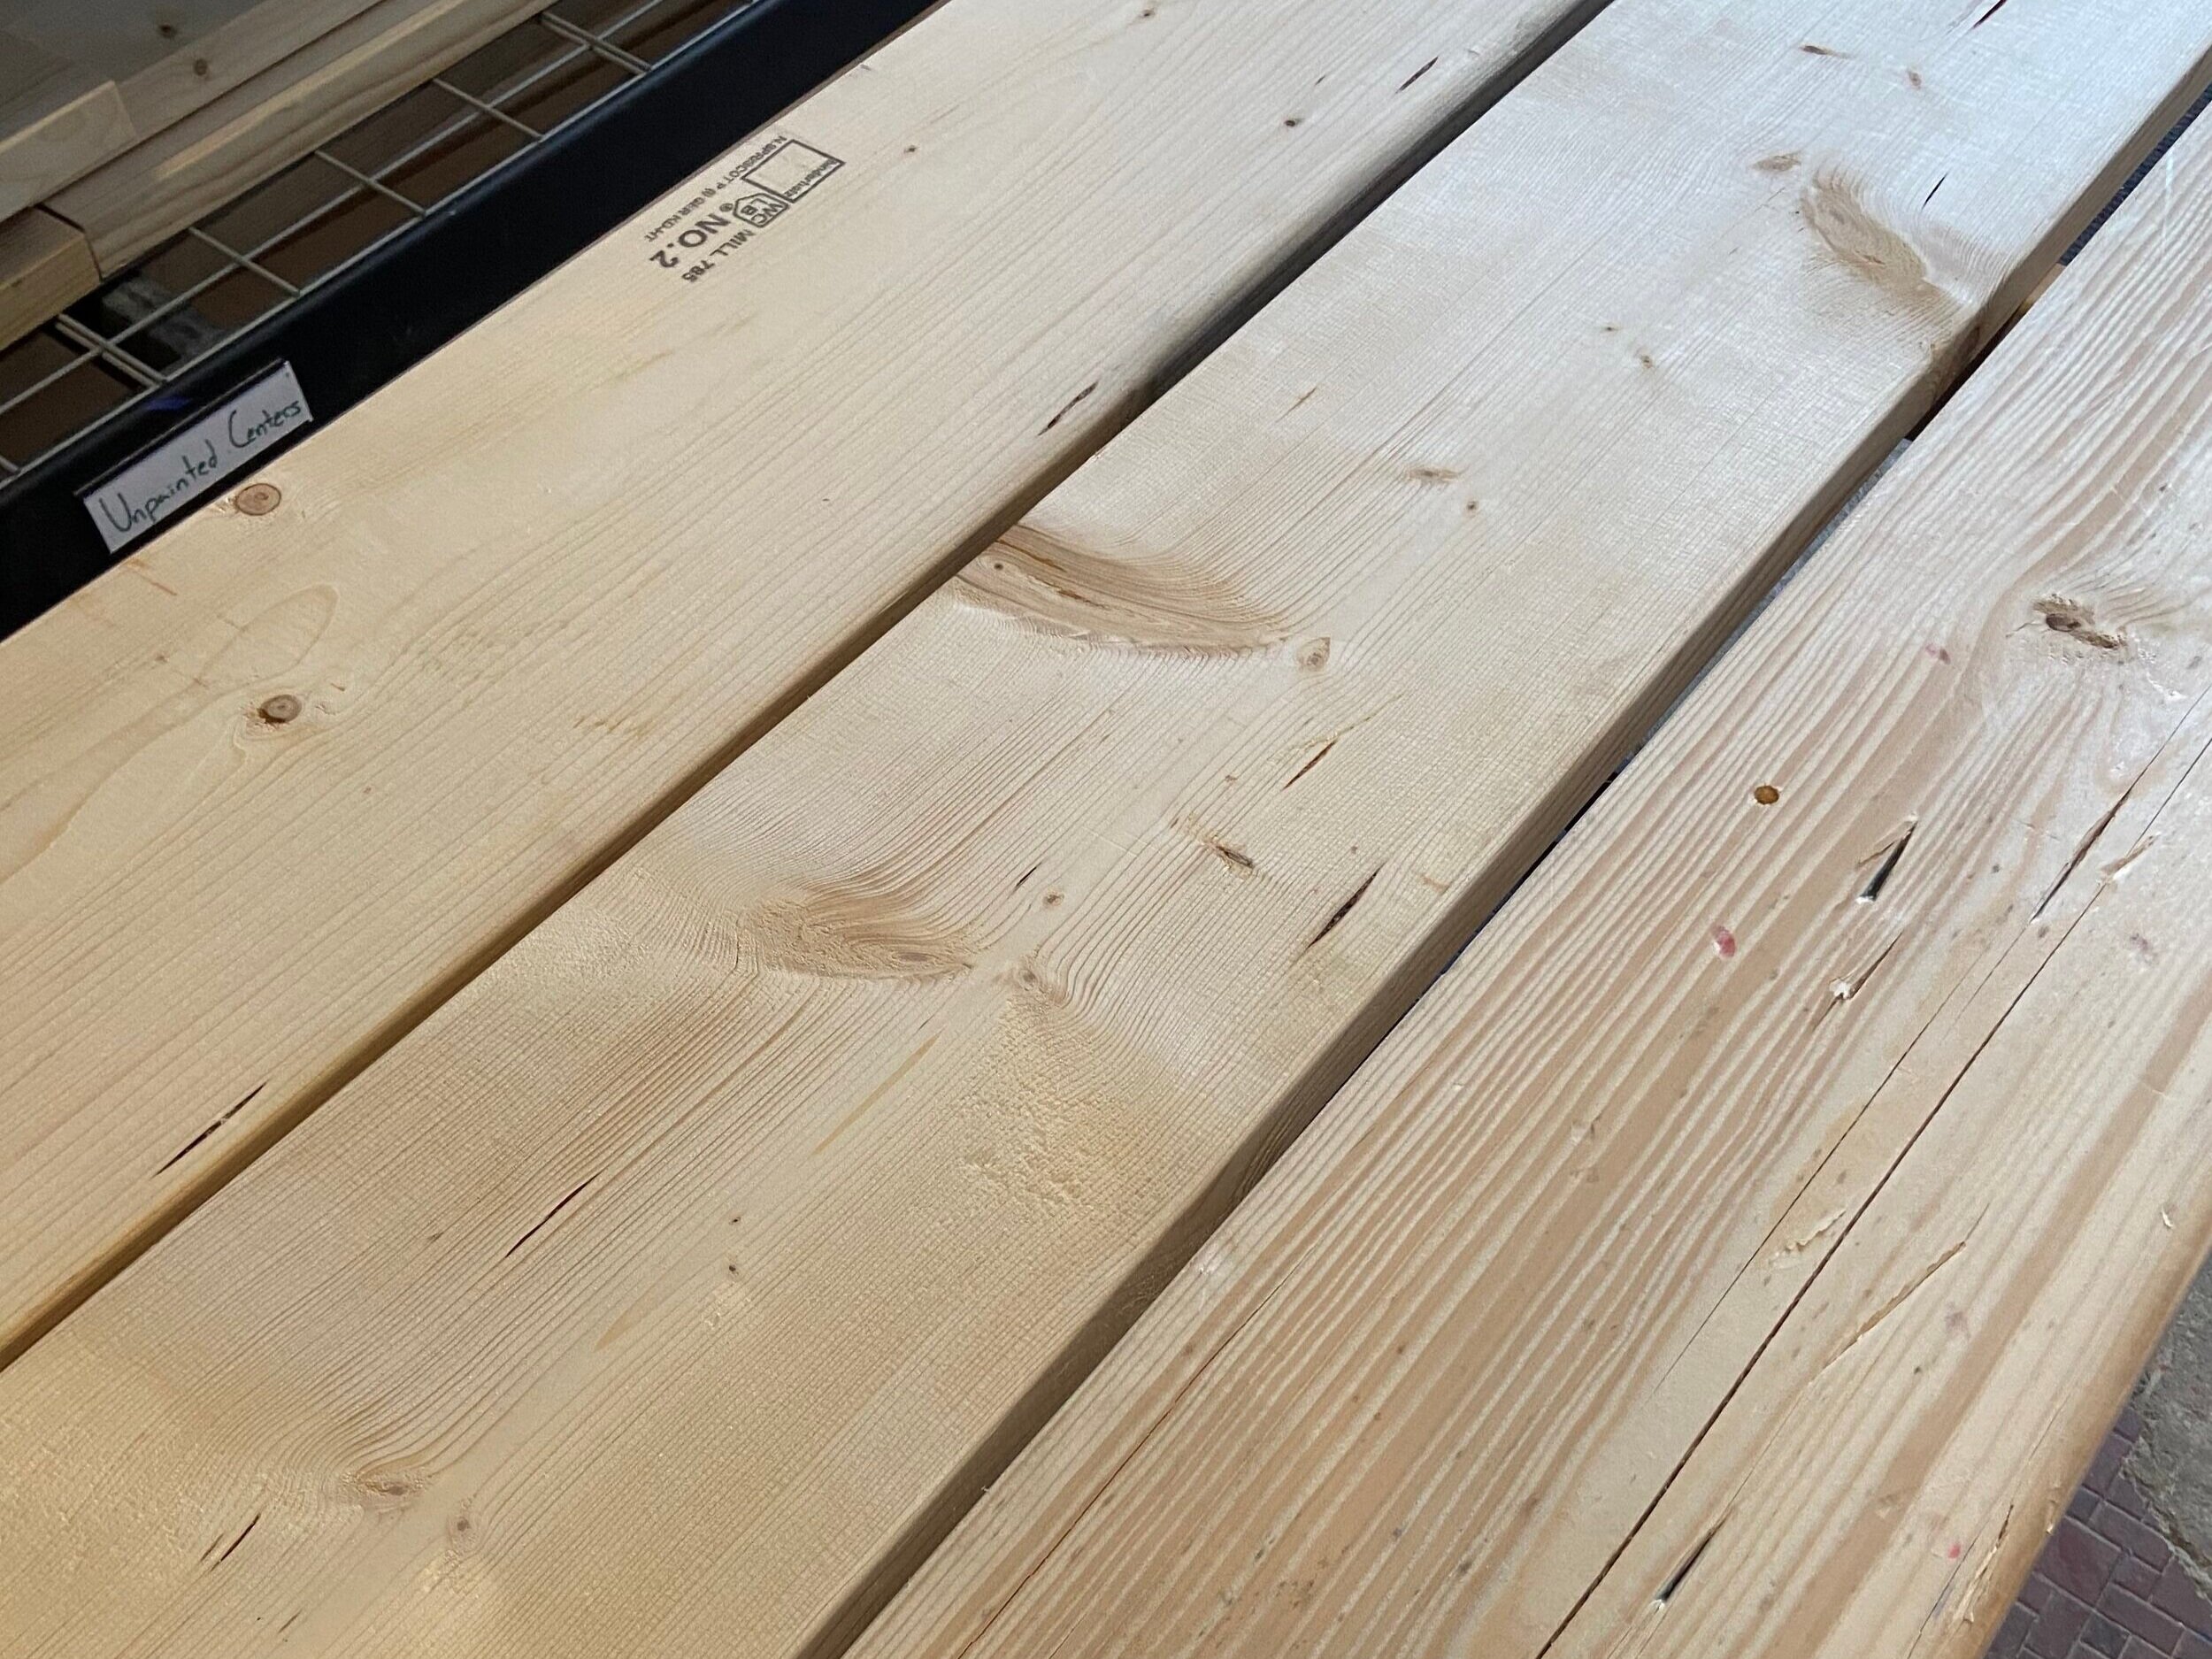
The left board is perfect! The center and right boards are knotty and dense respectively.
2. Gathering The Other Supplies You’ll Need
You only need a few more supplies to make your axe throwing target:
Paint markers or Sharpies - We use paint markers with 15 millimeter tips in red, blue, black, and green, but at home you can use permanent markers.
Drill and one screw
Piece of string at least 15 inches in length
Soda or beer can

Here are some of the materials we use here at Revolution Axe, reach out if you have any questions on how to make yourself a jig like these!
3. Find the center of the board
Using a tape measure, measure out 2 feet from the length of the board from top to bottom (the height). Next find the center from left to right (the width), which should be about just over 4.5 inches in. Place your screw in the center, and screw it in so it sticks out but doesn’t move, about an inch or so in.
Feel free to move the bullseye as needed to avoid knots (we didn’t do that on this one…)
4. Preparing Your String
Your piece of string is the guide to placing your bullseye and rings in the correct space from the screw on your target. An axe throwing board has one bullseye and 2 larger rings around it. The diameters and radii for the rings are as follows:
Bullseye: 7 inches in diameter, 3.5 inch radius
First ring (red): 17 inches in diameter, 8.5 inch radius
Second ring (blue): 27 inches in diameter, 13.5 inch radius
We will use the radius lengths as a guide. Tie a small loop at the top of your string and stretch the length of the string (including the loop) along a ruler. Mark out on your string where 3.5 inches is for the bullseye, 8.5 inches is for the red ring, and 13.5 inches is for the blue ring, all from the end of the loop.

Keeping it real basic, feel free to get as fancy as you’d like!
5. Drawing the bullseye and rings
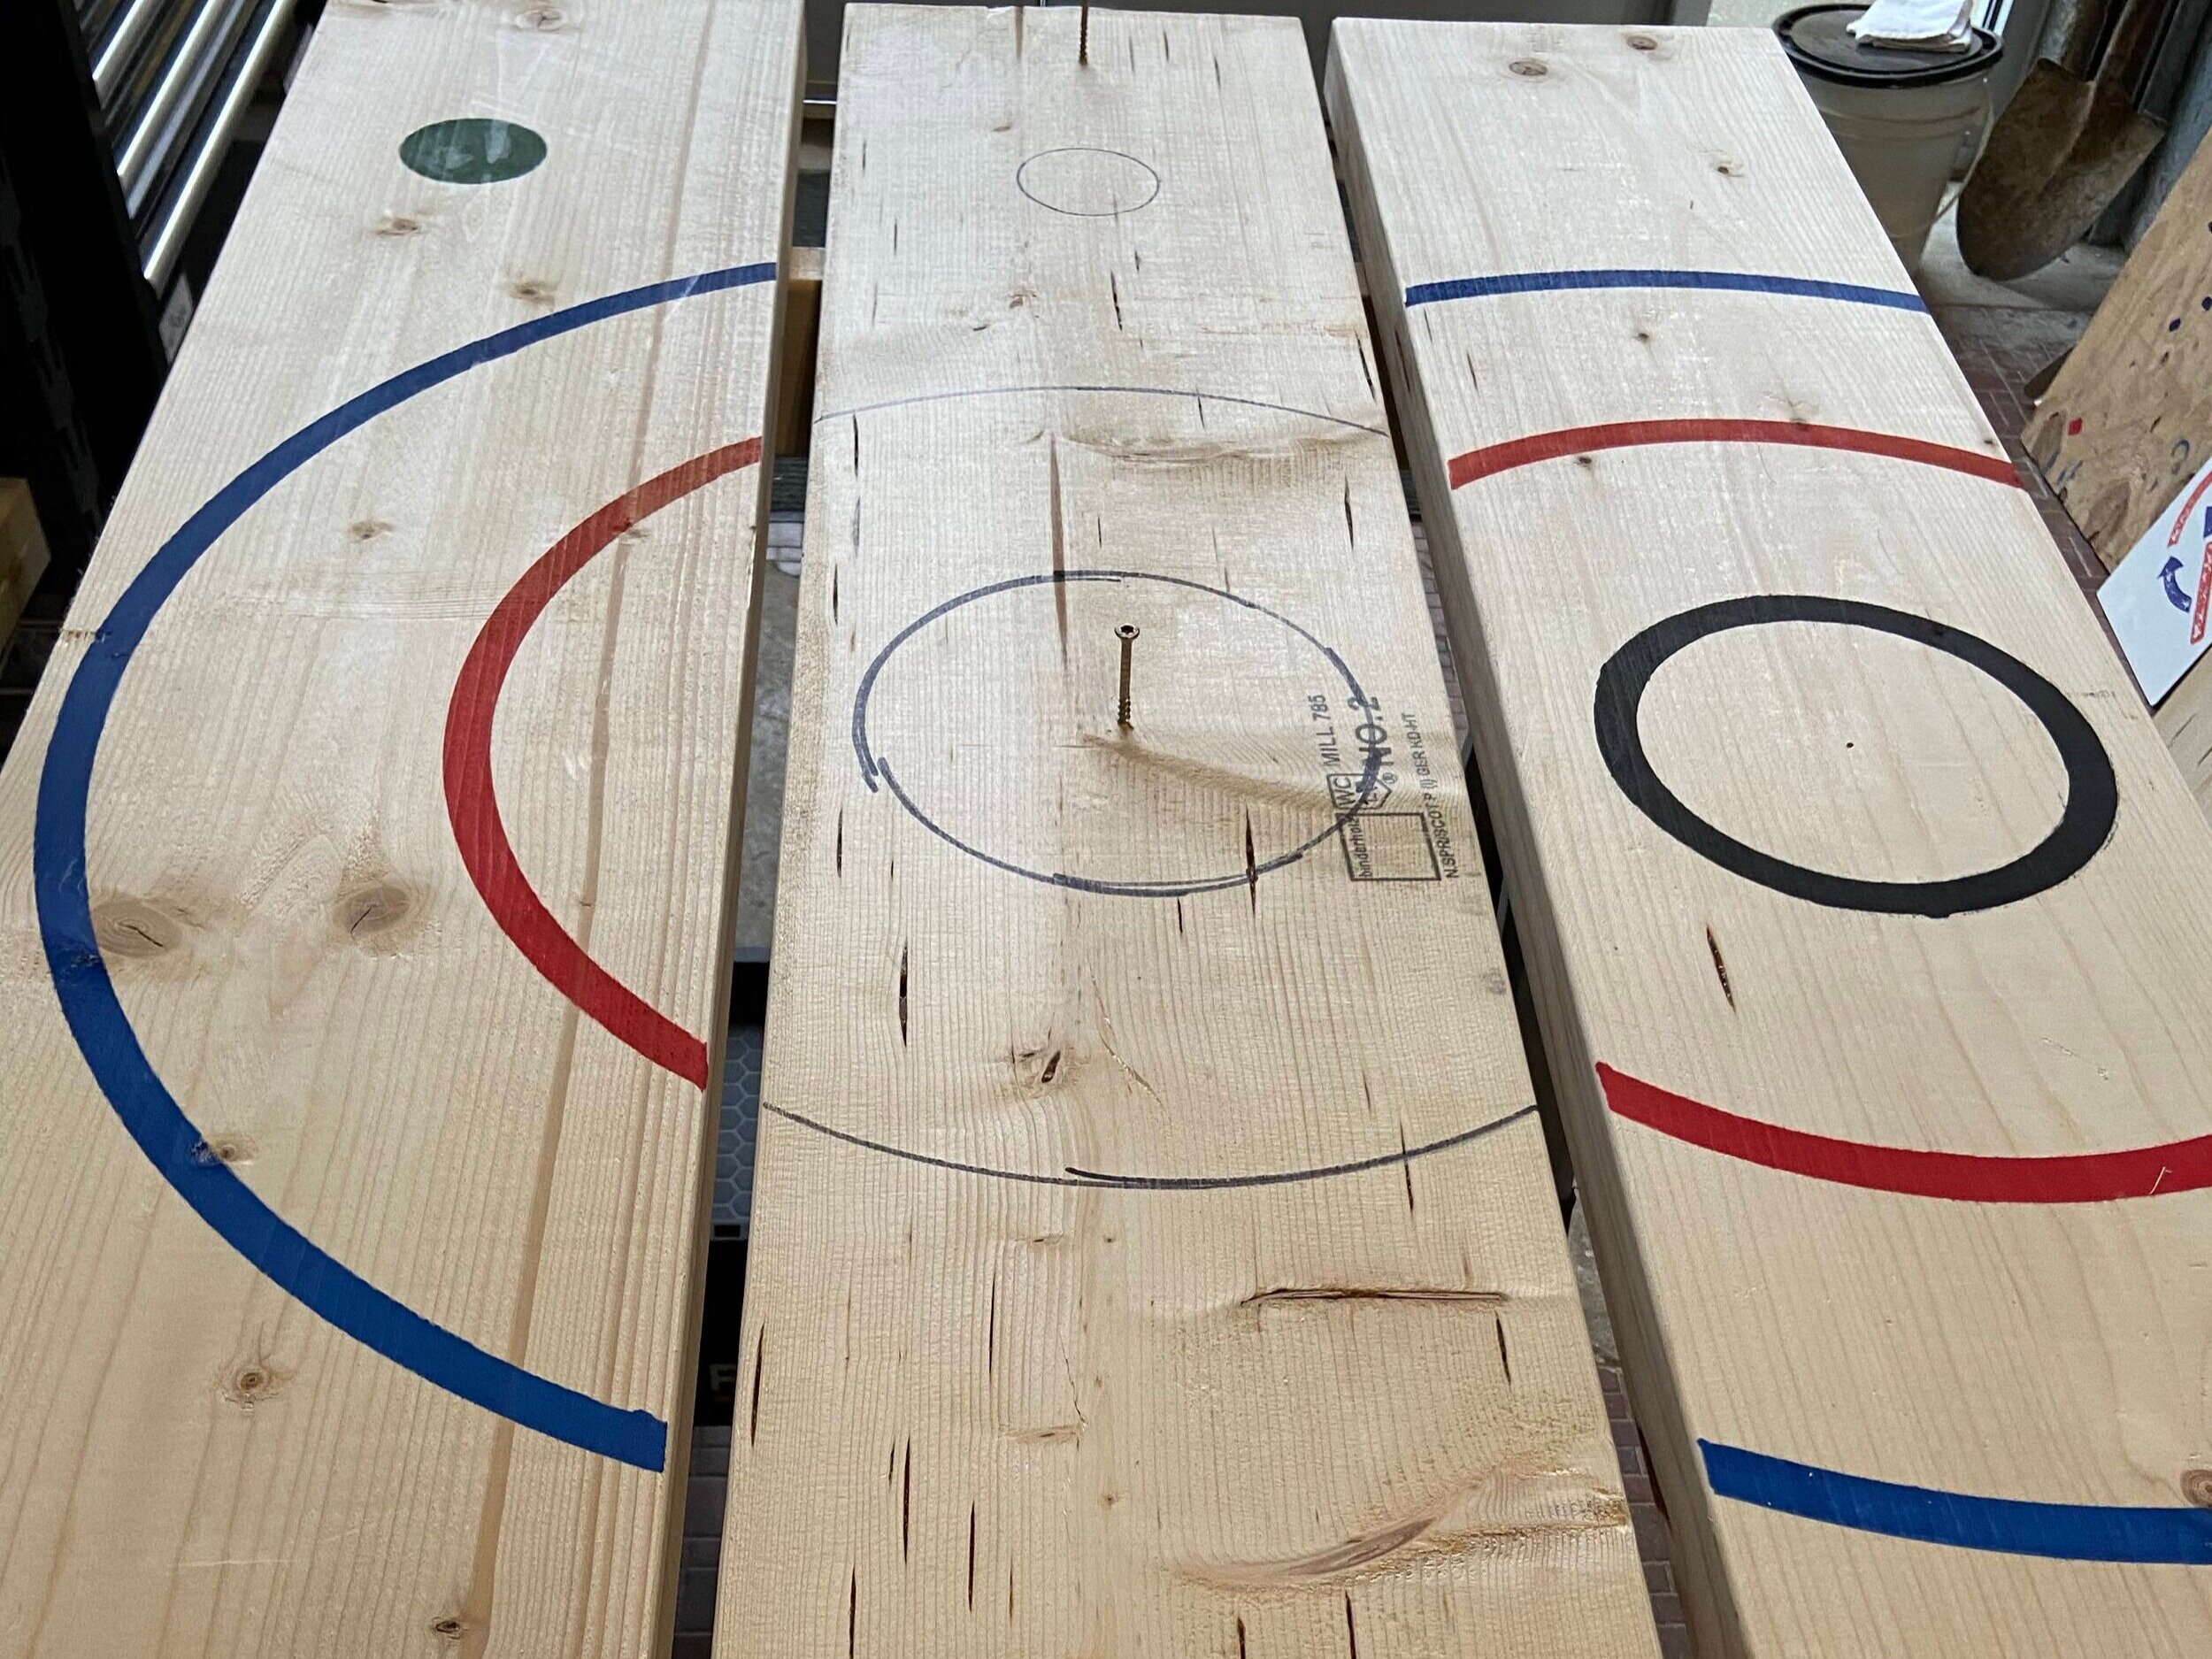
Put your loop of string around the screw. Using your 3.5 inch mark as a guide on your string, hold the sharpie next to your string and “swing” your marker and string around the screw (check out the video for a visual on this!) This will create a full circle for your bullseye. Since we are using only one plank, this will be the only full circle. Repeat this step for the red ring at the 8.5 inch mark on your string, which will end up looking like two curved lines around your bullseye. You can repeat that for the blue ring (13.5 inch radius) after that. Note that in the video, we only made one ring around the bullseye.

Using the mark on the string as a guide, hold it next to the marker and swing it in a circle. It doesn’t have to be perfect!
6. Drawing the clutch
The clutch can be drawn using the base of a soda or beer can. Place the bottom of the can 15 inches above the center of the bullseye and just over 4.5 inches from the side. Trace around the bottom of the can to form your circle, and fill it in with green color if you wish! Be sure to use the outer diameter of the can, unless you want to go expert mode on your clutches, of course. (Pro-tip: you can draw multiple clutches on your board to help it last longer!)

Trace along the outside of the can (the outer diameter, not the base)
7. Placing your target
The bullseye should be 63 inches (5’3’’) off the ground. Use a drill or nails to affix your target to a tree or other base (it’s a bit more work, but some throwers make a stand for their target). Please, make sure you’re throwing in a safe area. You neighbors don’t want your axe to knock the hat off their granny!

Not bad for my first target!
We hope you enjoyed this tutorial and we would love to see your homemade targets! Send us a picture of your creation using Instagram @revolutionaxe. If you’d like to learn more about the dimensions for real axe throwing boards or brush up on the official rules, check out the IATF rules and guidelines.